
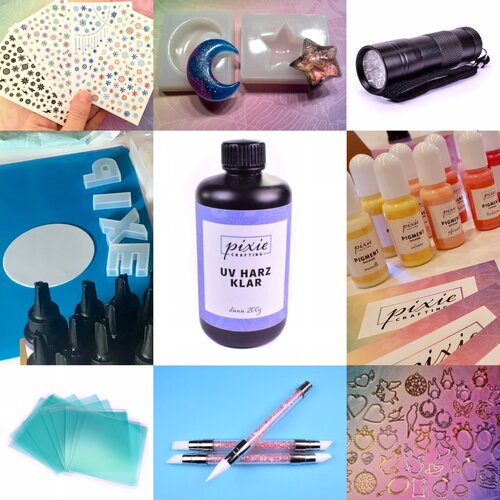
You are new to UV resin crafting? You cannot understand many terms that the pros use? Then take five minutes to read this article. We have written it exactly for you and will try to explain the most important terms and materials of this fabulous craft.
UV resin

The basic equipment is, of course, the UV resin, a liquid gel that cures (hardens) with UV light. This allows you to craft stress-free and lets you be creative on your own time. High-quality UV resin is characterized by its ability to cure in a very short time. This will allow you to continue crafting immediately. Our PixieCrafting UV resin shrinks by less than 2% during curing and is also non-toxic!
UV resin is available in different viscosities, we offer thin and thick UV resin. The difference is explained here in the blog.
In addition to clear UV resin, which becomes hard, there is also so-called soft UV resin, which remains flexible after curing and can even be cut with scissors. You should not include sharp-edged objects in soft UV resin, as these can otherwise cut through the material.
Colored UV resin is also available, we offer black and white UV resin in our shop. You have to remain very thin with your layer before curing, as both colors are opaque.
You can read more about our UV resin here in the blog.
UV light


UV resin cures (hardens) only under UV light. When crafting with UV resin, we use UV flashlights and/or nail lamps. With UV LED flashlights, you can flash cure thinner layers of your pieces within 10-20 seconds, so you can continue working immediately. For this purpose, a 3-5 Watt flashlight is enough, which we also sell in the shop. The last layer should be always completely cured so the sticky layer disappears. You can achieve this by placing your piece either in the sunlight or for at least 3 minutes (depending on color intensity) in a 36-watt halogen nail lamp. This kind of nail lamps are available for as little as 10 € and are essential for aspiring heavy crafters. Priced around 25 € are better models with time switches (2 and 3 minutes) and removable bottoms.
Pigments


There are countless ways to color UV resin, but there are a few things you have to take into consideration. Water and oil are not compatible with resin! In addition to the very rich transparent and opaque PixieCrafting UV pigments, which you can also mix together, you can also color UV resin with the following materials:
- (Artist) chalk (scrape off with a knife)
- Acrylic colors
- Eye shadow
- Nail art pigments
- Alcohol ink
- Conventional nail polish
- Printer ink
Attention: Less is more! If the UV resin becomes too opaque or there is too much foreign material, it cannot cure properly. Experiment – but pay attention that the colors are UV resistant, otherwise they can fade quite fast!
Mixing tools


Everyone usually has the basic equipment for mixing resin with glitter and pigments at home: simply cut baking paper into pieces and then mix the resin and pigment on it with a toothpick.
Optionally, there are small mixing cups made of silicone, with and without a beak, in which you can mix UV resin too. My favorite tools to mix are the silicone tools used in nail design. With these, you can also press stickers well on UV resin layers!
Attention: By mixing, of course, also air is mixed in the resin. The slower you mix, the less air you mix in. If you are patient, you can just let the colored resin rest a little, so the bubbles can slowly rise and you can burst them with the heat of a lighter.
Bezels

Bezels are metallic frames in different shapes which can be filled with resin. Most of the time they are made out of alloy.
Tape


With a special temperature-resistant tape, you can stick the bezels on and prevent the UV resin from leaking. Our special tape does not curl due to the heat while curing, which keeps your pieces even and smooth. It is transparent – so you can also easily cure the back – and when peeling it off, no residues stick to your piece. Recently, we also added a completely colorless version, but on a big roll.
Silicone mats


A silicone mat used for baking is ideal as a base so that your crafting table remains clean and no resin leaks on it. Resin does not combine with silicone while curing and residues can be easily removed – preferably with cheap duct tape, because also glitter and the likes stick to it.
Silicone molds


You can fill silicone molds with UV resin to create wonderful shapes. For UV resin, transparent to milky colored silicone molds are suitable. The UV light must be able to penetrate the mold, so you cannot use, for example, a brown praline mold.
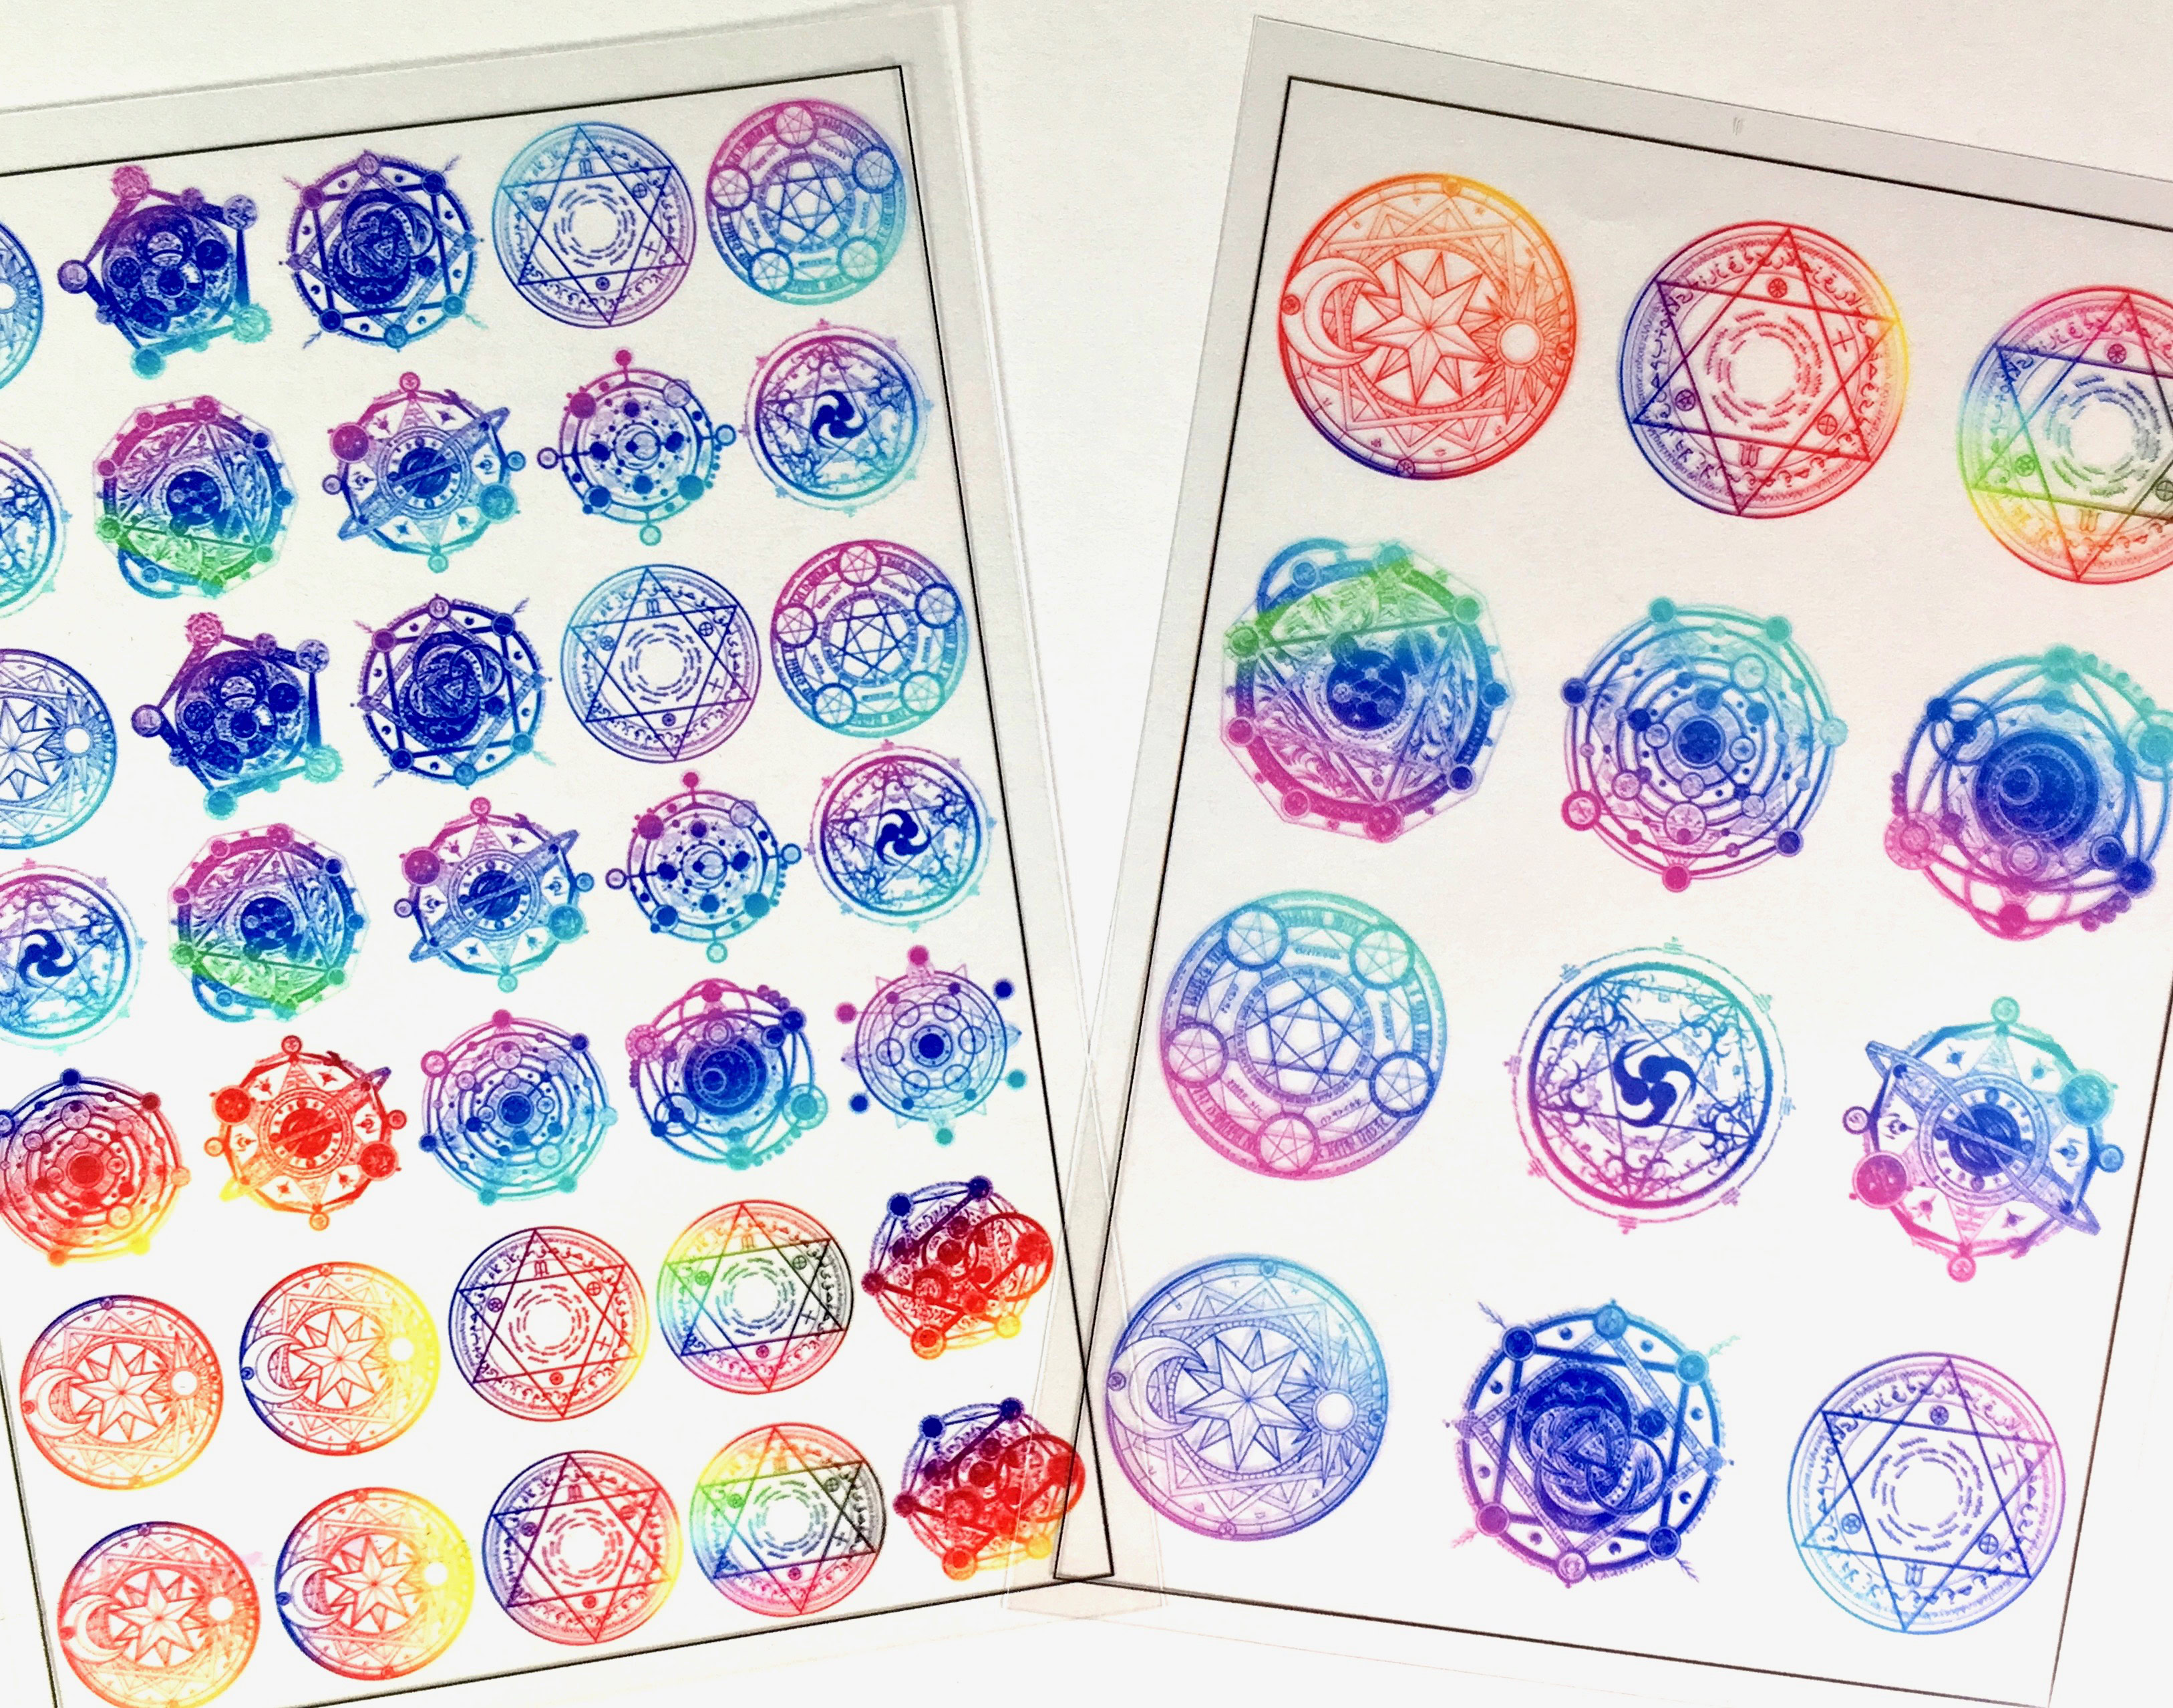
Stickers


Generally, you can use all stickers available for nail design. You bend the sticker sheet and pick up the sticker with tweezers. Then stick it directly onto a hardened layer.
Water transfer stickers


You must separate these stickers from the paper before using them. Remove the transparent film, cut your desired motif and place it in lukewarm water. After the sticker separates from the paper, lay it on a kitchen towel to dry. Then you can use them directly. Ideally, they still are a bit sticky and you can stick them on a hardened layer.
Paper stickers
Paper absorbs the resin, and therefore you cannot use it (similar to photo paper) without sealing it first. You can seal them with a sealant spray or glue (such as Modge Podge) or by laminating them.
Clear film sheets


These are transparent acetate sheets with a variety of motifs, including holographic ones, which you can cut out and put on the liquid resin. When placing a larger motif, it may happen that a bubble of air forms under the sheet – a little practice is needed! With darker colors in the background, you cannot see the edges of the cutout as much – and you can also hide them with the still liquid resin a little bit. Afterwards, harden and apply a clear coat.
Glue-on-bails


Glue-on-bails are made of metal most of the time and are eyelets or flat charms you can glue to resin pieces. In this way, you can turn every UV resin piece to a pendant.
There’s a short instruction here in the blog.
To our glue-on-bails and charms
Inlays


Inlays are small and bigger inclusions for your resin pieces. There are countless materials and shapes, from small gears to comets, moons, stars, feathers, fishes, polymer clay flowers, crushed colored pieces of shells, starfishes, pearls and dyed dried flowers.
Gold leaf and similar

While you can use real gold leaf, there are also cheaper metal foils that are similar and look stunning.
Rhinestones


Rhinestones can be a real eye-catcher in your jewel or pendant. But beware as most of the time if they are completely covered with resin, they lose their cut and do not shine the same way any longer. Therefore, make sure to let the top of rhinestones stand out of the resin.
Resin Gems
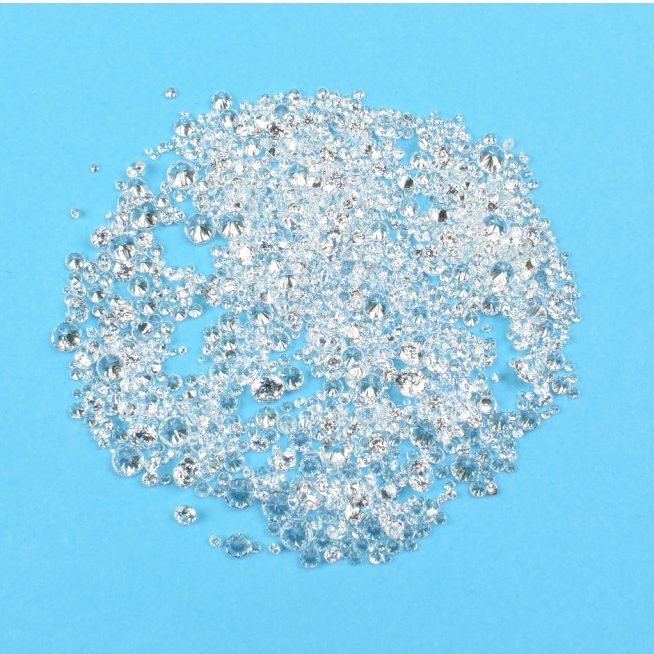
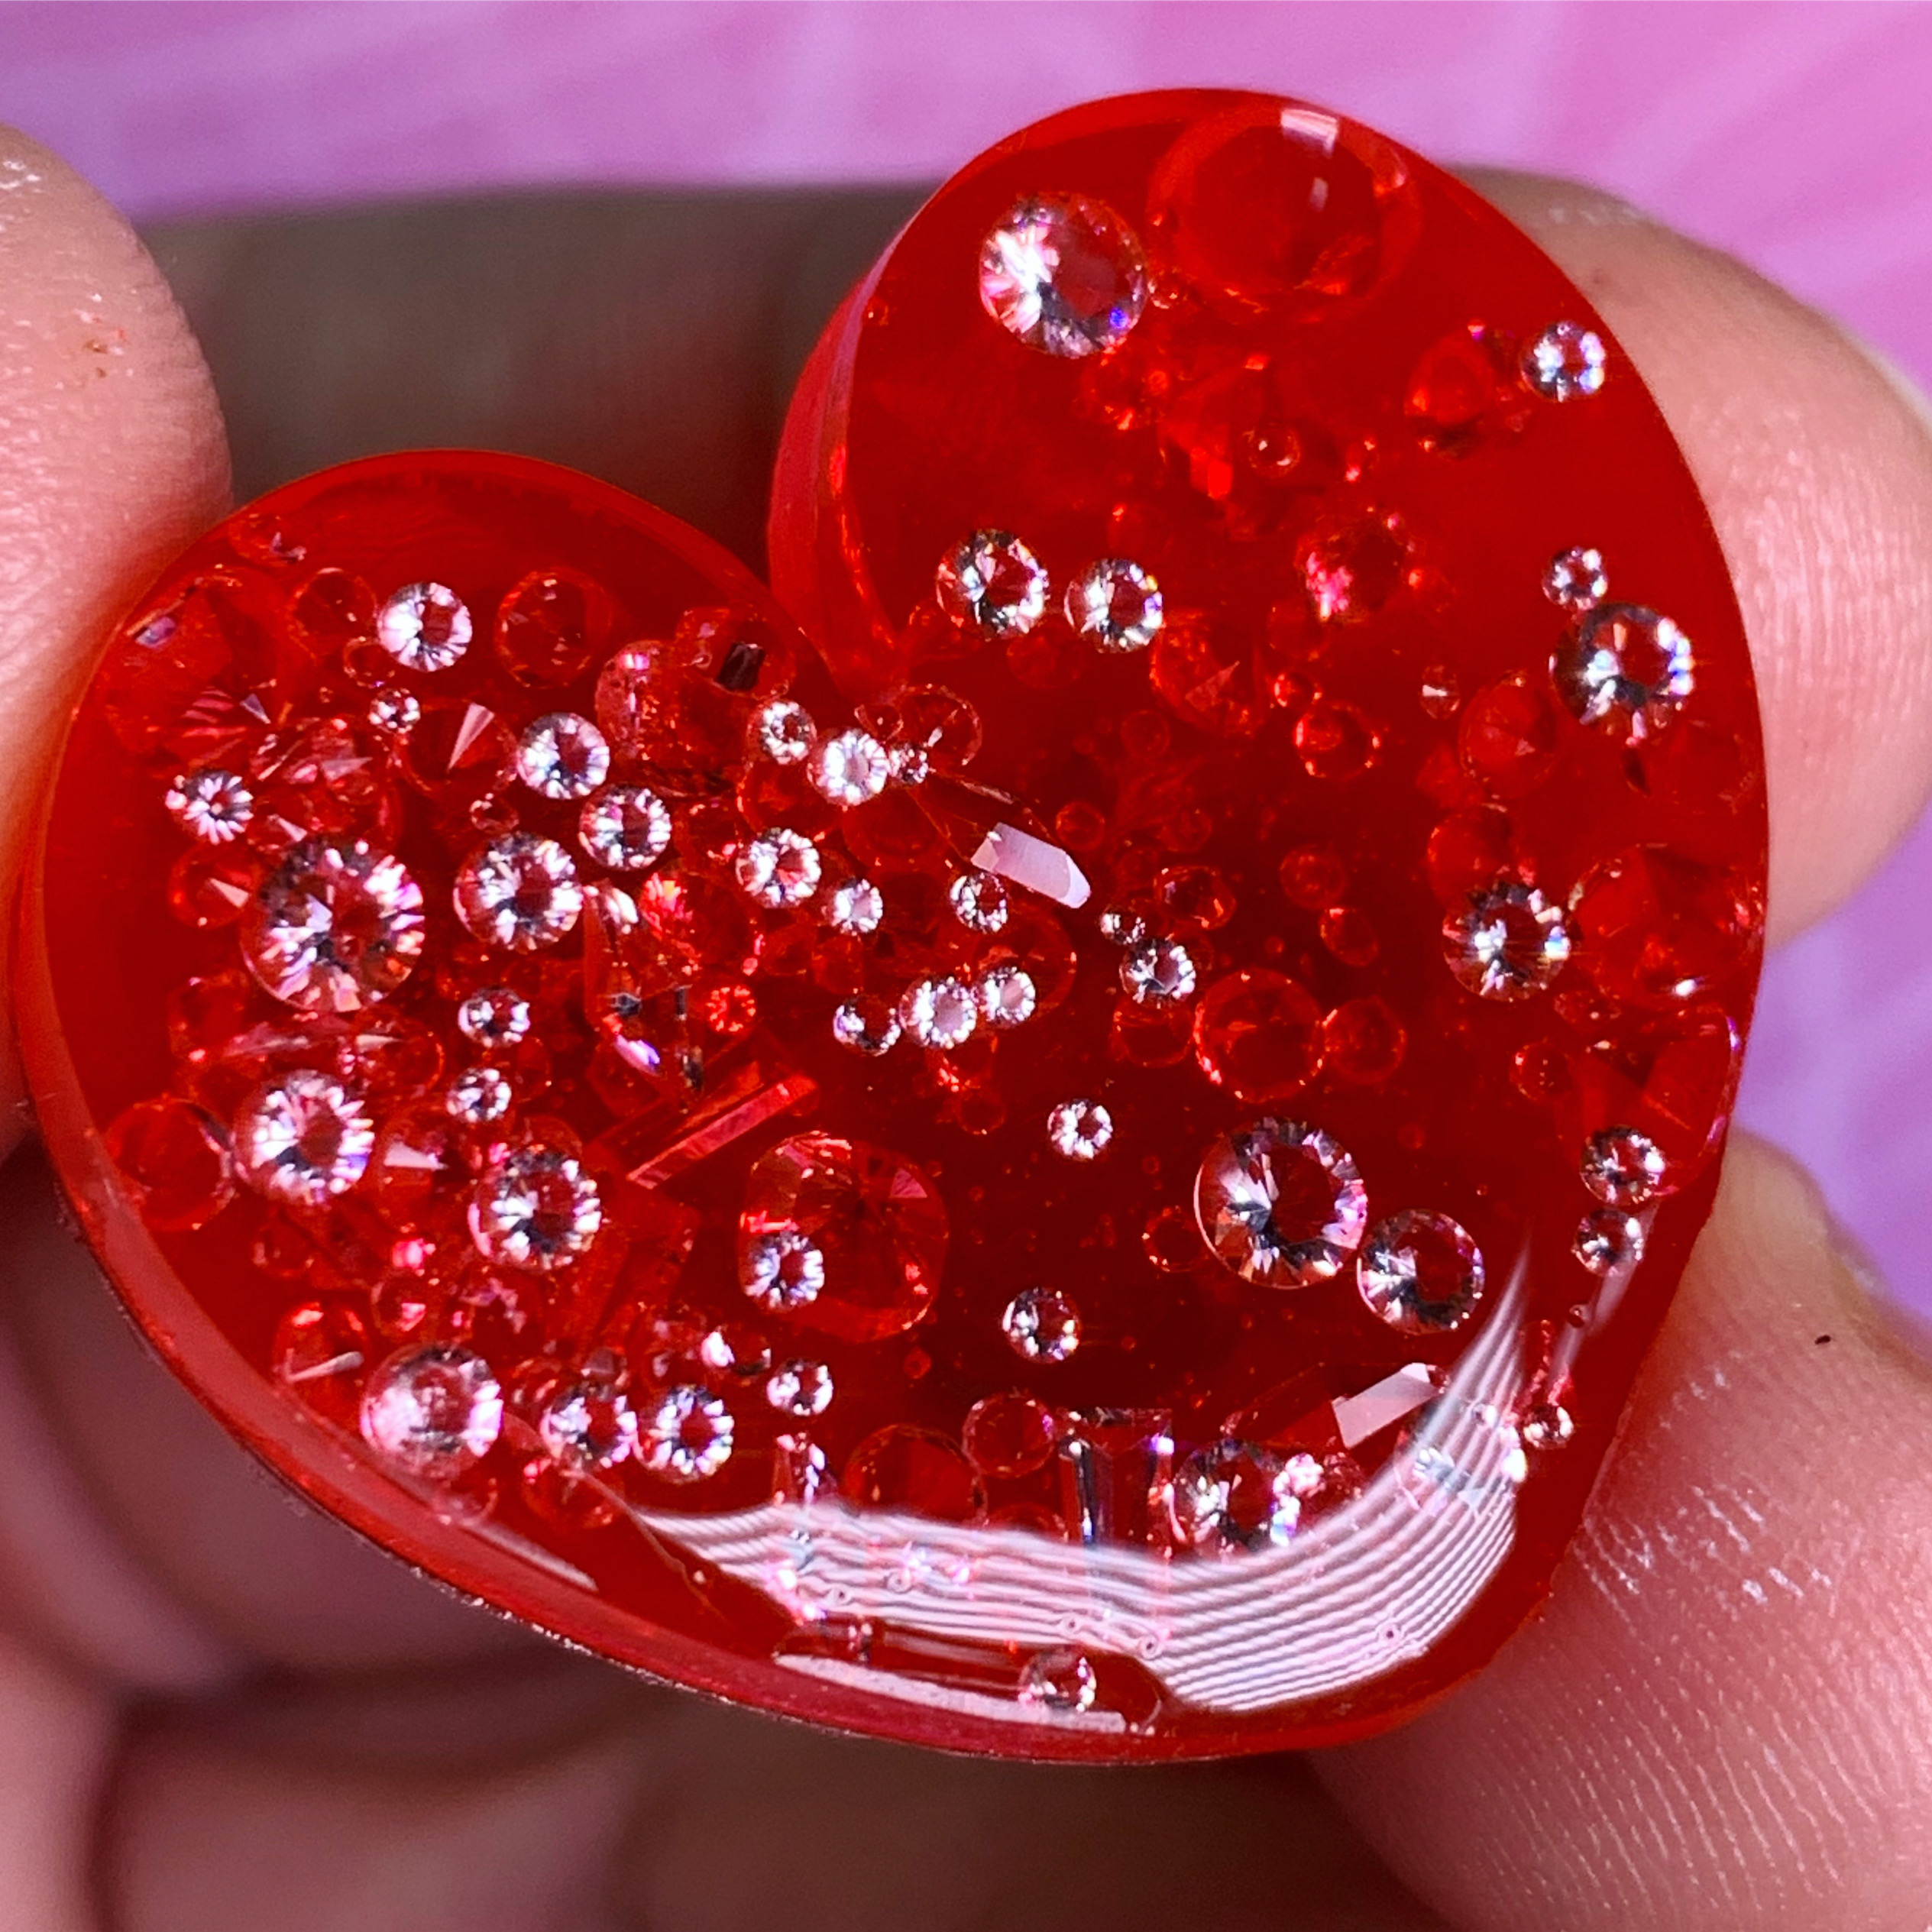


The so called Resin Gems are gems which retain their shine also in the resin due to a special coating. We offer a small mix in the shop.


Kommentar schreiben